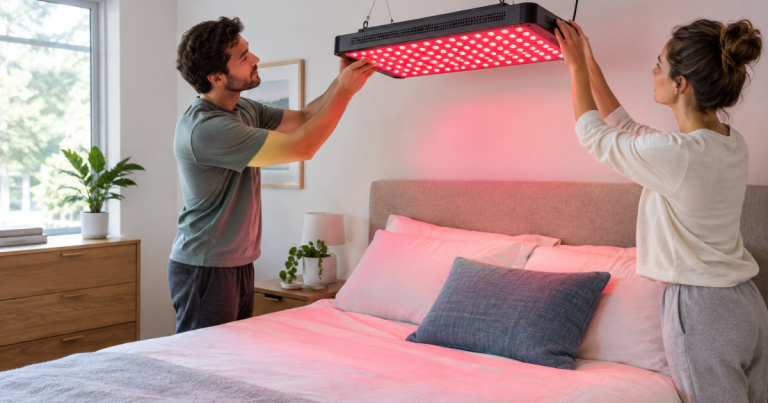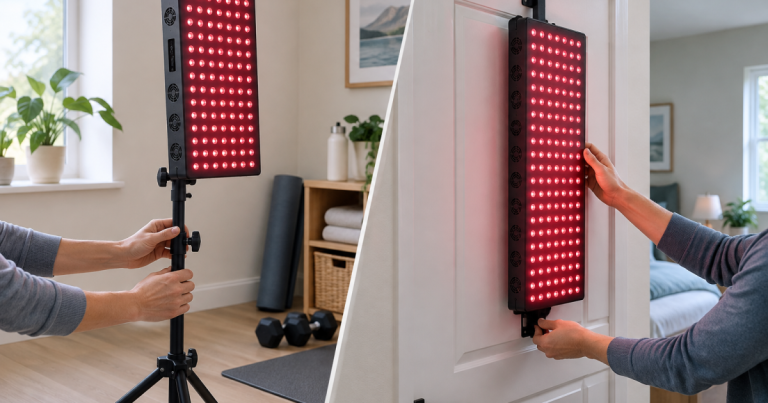
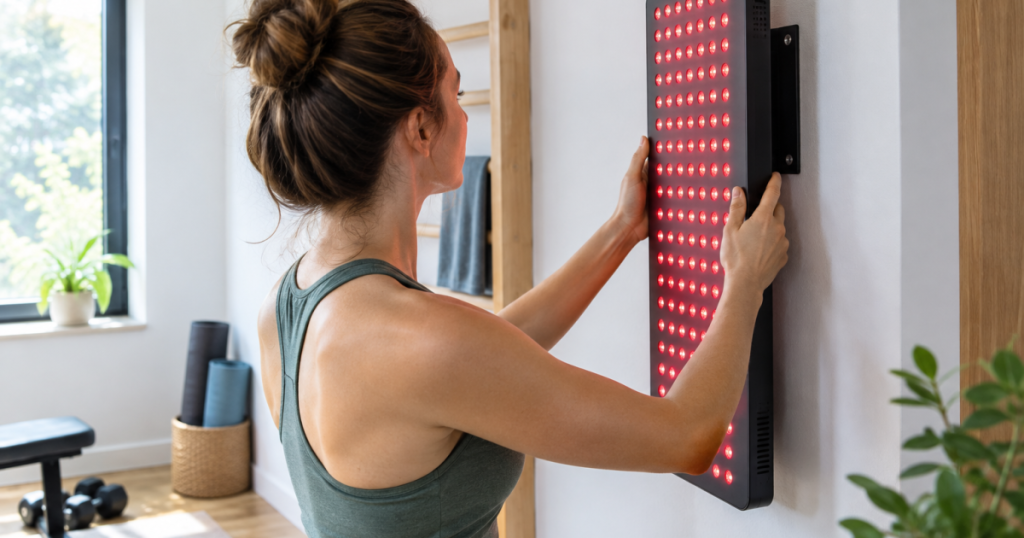
A clean wall setup can make a red light routine feel intentional instead of improvised, with the panel ready at the height you actually use. Before you wall mount a red light therapy panel, the job is less about drilling quickly and more about confirming support, clearance, power, and day-to-day comfort. The goal is a setup that feels stable, easy to approach, and boringly reliable—the highest compliment for any wellness corner.
Any outlet installation, outlet relocation, or work involving concealed electrical wiring should be handled by a qualified electrician in compliance with local electrical code and safety standards.
At a glance
A safe wall-mounted red light panel setup depends on seven checks: confirm the panel is designed for wall mounting, fasten the bracket into studs or a properly rated wall anchor system, verify the panel weight against the hardware, choose a treatment height that matches your routine, keep the outlet reachable without cord strain, leave ventilation space around the panel, and follow rental or lease restrictions before drilling.
- Best for: a fixed routine in a bedroom, home gym, recovery corner, or skincare area.
- Less ideal for: shared spaces where the panel height changes often, or rentals where drilling is restricted.
- Main trade-off: wall mounting saves floor space, but it reduces flexibility compared with a rolling stand or tabletop setup.
Step 1: Confirm the panel is meant to be mounted
Start with the manufacturer documentation, not the wall. Some red light therapy panels include wall brackets, some use hanging hardware, and others rely on optional stands or mounting accessories. Do not assume that two panels with similar dimensions mount the same way.
Look for the listed mounting options, the panel weight, the bracket style, and any required clearances. If you are comparing models before buying, spec pages can save you from choosing a panel that works beautifully on paper but poorly on your actual wall. For example, the Mito Red Light MitoPRO 750X entry is the kind of reference worth checking for published setup fields before planning a permanent location.
Step 2: Pick the wall based on your routine, not just open space
The right wall is where you will naturally stand, sit, stretch, or wind down. A full-body or half-body session usually benefits from a wall with enough clear floor area in front of it. A face-focused routine may work better near a mirror, stool, or skincare shelf, as long as the panel height and brightness feel manageable.
Think through the session before marking the wall. Where will your feet go? Will you sit or stand? Will the panel aim at your face, torso, legs, or a rotating mix of areas? Can you step back comfortably without blocking a doorway or tripping over a mat?
For facial routines, be extra conservative with comfort. A fixed mount can make it tempting to use the same position every time, so build in enough distance and flexibility to adjust. If your routine involves reactive or easily flushed skin, the site’s guide to using a red light panel with sensitive, rosacea-prone skin is a useful next read before committing to a face-height installation.
Step 3: Find solid support before you drill
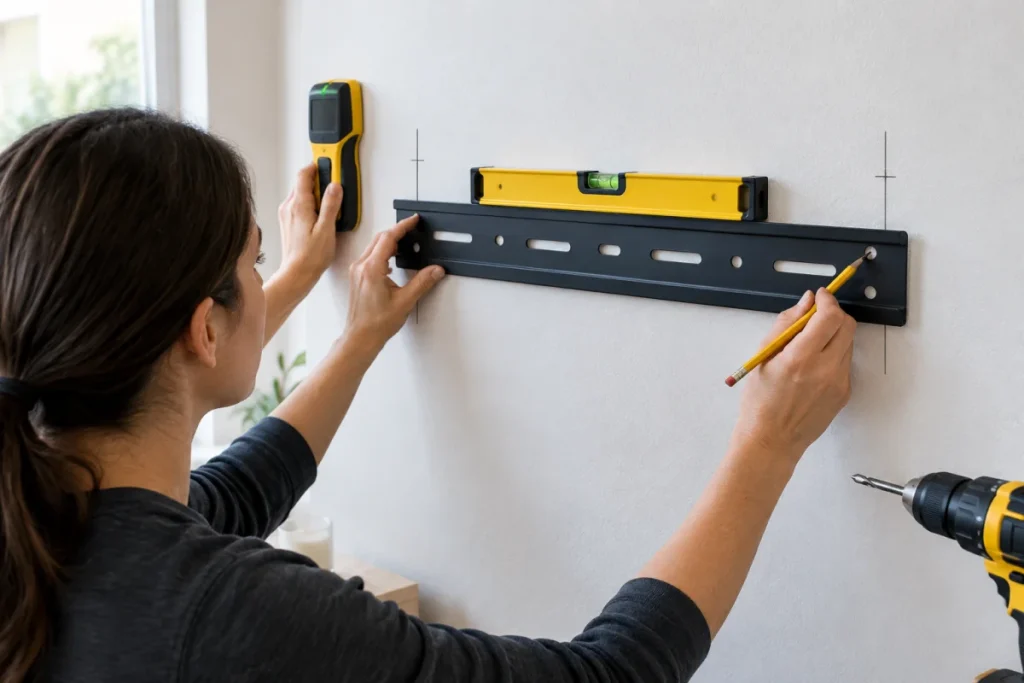
A red light panel is not a framed poster. Even a manageable panel can place meaningful load on a bracket when it is lifted on and off, bumped, or adjusted. Use a stud finder, confirm stud location carefully, and mark the bracket points with a pencil and level.
- Studs are preferred: fastening into wood studs gives the most straightforward support for many residential walls.
- Drywall alone is not enough: only use anchors when the manufacturer’s mounting instructions and the anchor’s load rating clearly support the application.
- Check what is behind the wall: avoid drilling near outlets, switches, plumbing lines, or unknown wall cavities.
- Use the right screws: hardware should match the bracket, wall type, and load requirements rather than whatever is already in the junk drawer.
If your wall is brick, concrete, plaster, or an unusual partition, the hardware decision changes. The safest answer is not a stronger guess; it is the correct fastener for the wall material and the panel’s loaded weight.
Step 4: Plan power and cord routing
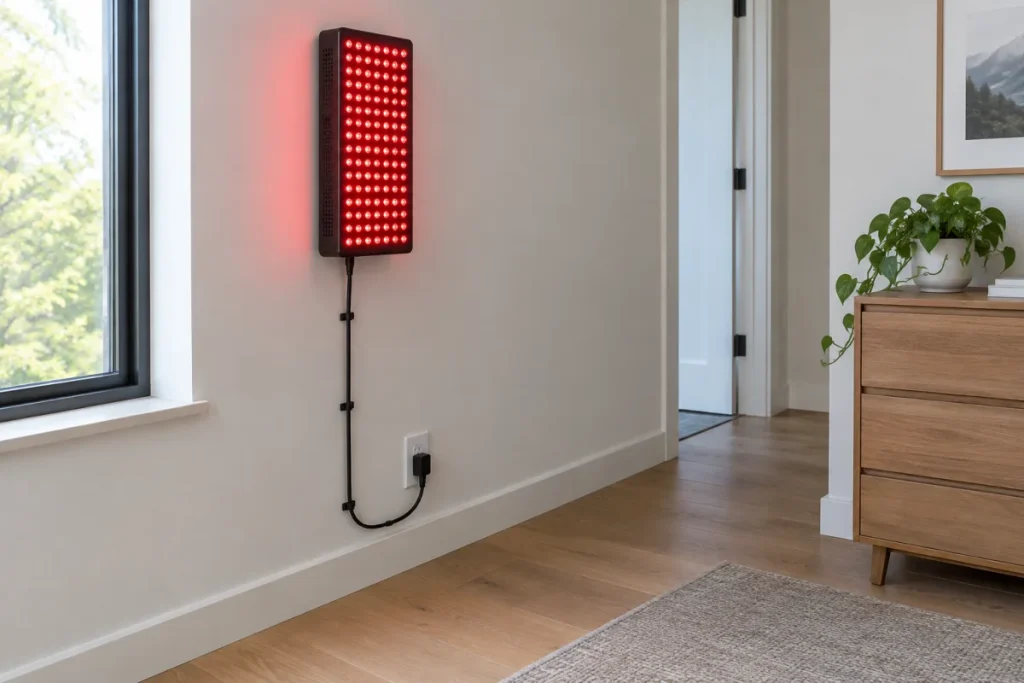
The outlet should be close enough that the power cord reaches without tension. A cord pulled tight across the wall or floor is more than visually messy; it can tug on the panel, invite trips, and make the setup feel temporary.
Keep cords visible, relaxed, and out of walkways. Avoid running power cords under rugs or pinching them behind furniture. If the ideal treatment wall has no nearby outlet, treat that as an electrical planning issue rather than an excuse for a risky cord path.
A simple smart plug or timer can make a fixed setup easier to use, but it should match the electrical requirements of the device and should not replace the panel’s own operating instructions. The point is routine support, not automating around safety basics.
Step 5: Leave room for heat and handling
Red light panels are electronic devices, and mounted setups need breathing room. Follow the brand’s clearance guidance and avoid sealing the panel into a tight alcove, cabinet, or fabric-heavy corner. Good airflow helps the setup feel less fussy and reduces the chance that heat buildup becomes part of your daily routine.
Also leave enough space to lift the panel on and off the bracket if the design requires it. A mount squeezed between shelves may look sleek until the first time you need to clean the panel, check the cord, or adjust the bracket.
Step 6: Mount, test, and then use it gently at first
Once the bracket is level and securely fastened, attach the panel according to the manufacturer’s instructions. Do not improvise with hanging wire, adhesive hooks, picture hardware, or under-rated screws. A wellness setup should not depend on hope and drywall dust.
After mounting, do a short stability check before your first session. Confirm the panel sits fully on the bracket, the cord is relaxed, the switch or controls are reachable, and nothing rattles or shifts when the panel is handled normally. Then run your first few sessions conservatively while you learn whether the height and angle suit your routine.
If you are comparing a mid-size wall-friendly format, the Hooga Ultra 750 listing is another example of why checking weight, dimensions, and mounting fields before installation is more useful than judging from product photos alone.
Mistakes that make a wall setup harder to live with
- Mounting too high: the panel may miss the areas you intended to target unless you stand awkwardly or change your posture.
- Mounting too low: seated routines may work, but standing torso or face sessions can feel cramped.
- Ignoring glare: a panel facing a mirror, glossy tile, or bright white wall can make sessions less comfortable.
- Choosing the prettiest wall: the best-looking location is not always the easiest place to stand for several minutes consistently.
- Skipping the lease check: renters should confirm drilling rules and repair expectations before making permanent holes.
When a stand is the better answer
Wall mounting is excellent when one person uses the same routine in the same place. A stand can be better when multiple people share the panel, when you alternate between face, torso, knees, and back routines, or when you are still learning what placement feels right.
Stands also help in apartments where walls are not ideal, rooms where outlets are oddly placed, or spaces that need to transform quickly from workout area to regular living space. If your mounting plan requires compromises on support, cord safety, or treatment height, a stand is not a downgrade; it may be the cleaner setup.
Quick answers
Can every red light therapy panel be mounted on a wall?
No. Some panels are designed for wall mounting, while others are intended for tabletop use, door hanging, or stand-based setups. Always check the manufacturer’s listed mounting options and hardware guidance.
Should the panel be mounted vertically or horizontally?
Use the orientation supported by the panel and bracket. Vertical mounting often suits standing body routines, while horizontal mounting may suit targeted areas or certain seated setups, but the hardware must allow it.
How high should a wall-mounted red light panel be?
There is no universal height because panel size, user height, and routine goals vary. Mark the wall while standing or sitting in your real session position, then align the panel so the illuminated area covers the body regions you plan to use most.
Why it matters
A good wall mount removes friction. The panel is visible, ready, and integrated into the room instead of stored behind a door or dragged out when motivation is already fading. That convenience can be the difference between an expensive object and a repeatable ritual.
Before drilling, compare the panel’s published mounting information, your wall structure, outlet access, and the way you actually plan to use the light. For another half-body reference point, the Joovv Half-Max 3.0 page shows the kind of product-level details worth reviewing before turning a blank wall into a permanent recovery spot.