
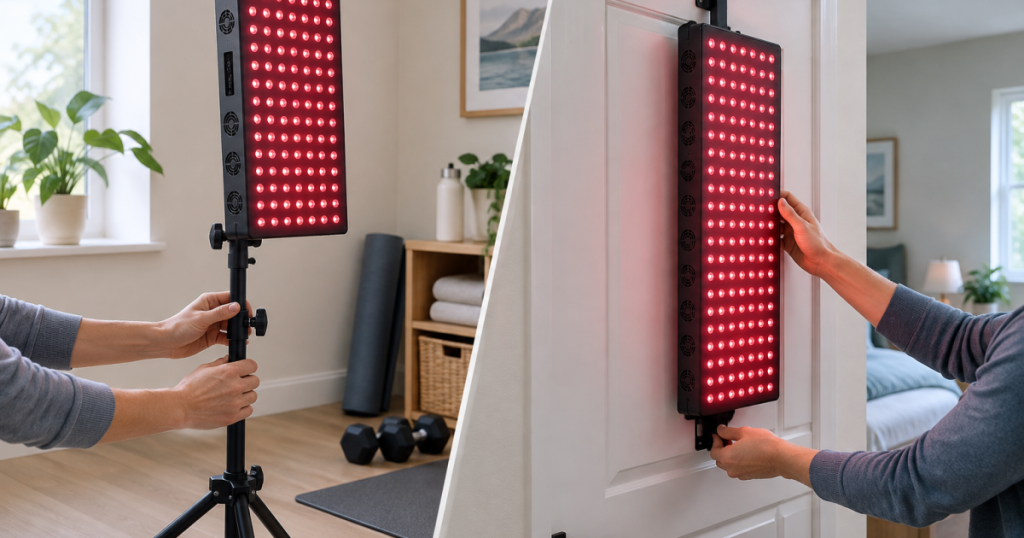
The mounting choice can make a great panel feel easy or oddly annoying. A red light therapy panel stand vs door mount decision is less about which accessory looks cleaner and more about daily friction: where you stand, how stable the panel feels, how much body area you can line up, and whether the setup stays usable after the novelty wears off.
Most people should choose the mount that makes sessions repeatable, not the one that looks best in a product photo. The right answer depends on your panel size, room layout, door traffic, storage habits, and whether you want a fixed wellness corner or a setup that disappears after each session.
Main points
- Choose a door mount if you need a low-footprint setup, have a compatible door, use mostly standing sessions, and do not mind adjusting around door movement and room traffic.
- Choose a floor stand if you want smoother positioning, better control over distance and angle, easier placement near a mat or chair, or a dedicated recovery corner.
- Panel size and weight matter first. Do not assume every mount works with every panel. Check the manufacturer’s stated compatibility, weight limits, hanging hardware, and clearance requirements.
- Daily-use friction is the hidden cost. A mount that takes five extra steps may be technically fine and still become the reason sessions stop happening.
Step 1: Start with the panel, not the accessory
Before comparing stands and door hooks, look at the panel itself. A compact tabletop panel, a mid-size half-body panel, and a large full-body panel place very different demands on hardware. The heavier and taller the panel, the more important stability, weight rating, and height adjustment become.
Check the product page or manual for mounting points, accessory compatibility, total weight, dimensions, and whether the brand specifies particular stands or hanging hardware. If you are comparing models before buying, the Red Light Panel Specs database is a useful place to look at fields like dimensions, weight, mounting options, wavelength profile, and irradiance reporting without getting lost in marketing copy.
Be careful with third-party accessories. Some work well, but fit is not guaranteed just because the panel has a hook, cable, or bracket. A mismatch can leave the panel tilting, sitting too low, or depending on hardware that was never intended for that load.
Step 2: Compare the real trade-offs
Cost and value
A door mount is usually the lower-cost route because it uses an existing door instead of a freestanding frame. That can be sensible if you are starting with a smaller panel or testing whether you will actually use the routine. A floor stand generally costs more, but it can add value by making sessions easier to position and easier to repeat.
The value question is simple: does the accessory remove friction or create it? Paying less for a mount that makes every session awkward is not a bargain. Paying more for a stand that turns setup into a two-minute ritual may be worth it for a panel you plan to use several days a week.
Stability
A well-matched floor stand can feel more controlled because the panel has its own base and is not depending on a swinging door. That said, stands still have limits. A panel that exceeds the stand’s rating, sits too high, or is bumped in a narrow walkway can still be unstable.
A door mount can be stable enough when the door is solid, the hooks sit cleanly, the panel weight is within the stated range, and the door is not being opened during a session. The weak point is movement. Doors swing, flex, rattle, and attract interruption. Nothing says “calming recovery ritual” quite like someone reaching for the closet.
Body coverage and positioning
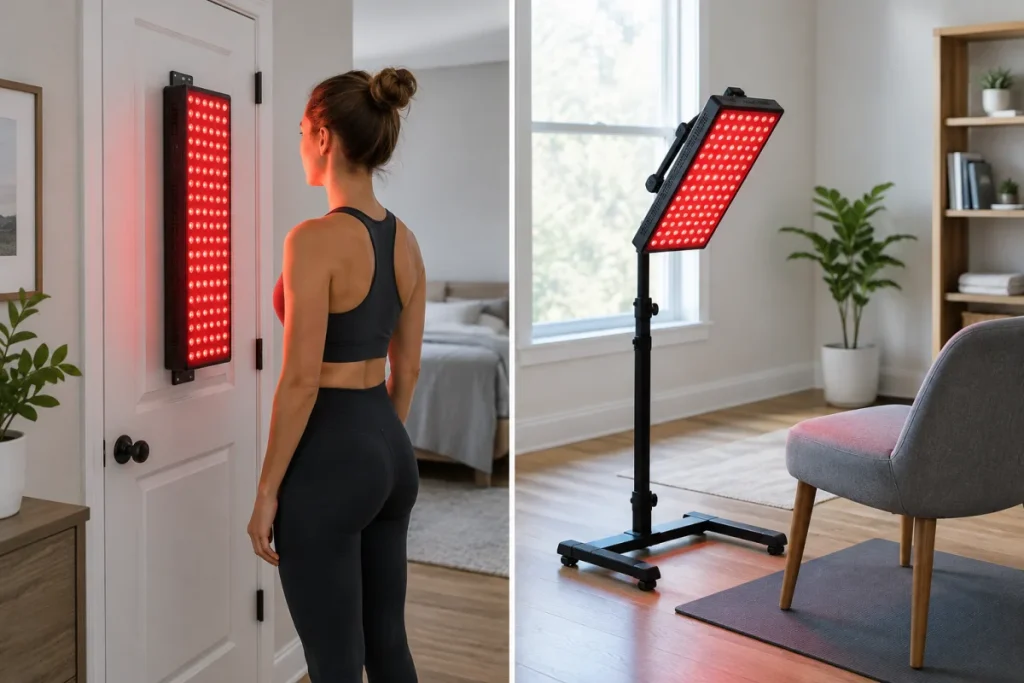
Door mounts usually favor upright standing sessions. They can work well for face, chest, back, torso, or general front-and-back positioning when the panel height lines up with the area you want to target. They are less flexible for seated routines, lower-body work, side angles, or horizontal placement.
Floor stands give you more room to build the session around your body instead of forcing your body around the door. Depending on the stand design, you may be able to adjust height, move the panel closer to a mat, or place it near a chair. Verify the actual stand features before buying; brands describe adjustment ranges and compatible orientations differently.
Storage and floor space
A door mount wins when floor space is tight. It keeps the panel vertical, uses a surface you already have, and may let the setup live behind a bedroom, closet, or spare-room door. The trade-off is clearance. Make sure the door can still open safely, the panel does not hit furniture or trim, and the cord route does not cross a walkway.
A stand needs floor space, but it may reduce handling. If your panel can stay on the stand, you are less likely to lift it on and off hooks, hunt for hardware, or re-level it before each session. For many people, the stand becomes the difference between “I should use that” and actually using it.
Rental friendliness
Both options can be renter-friendly when they avoid drilling. A door mount may look like the obvious choice, but check whether the hooks compress weather stripping, mark paint, prevent the door from closing, or scrape trim. A floor stand avoids the door issue but asks for a permanent parking spot.
If you share a home, the social side matters too. A panel mounted on a frequently used door may be technically removable, but it can still feel in the way. A stand tucked into a quiet corner may be less intrusive even though it takes more space.
Step 3: Match the mount to your routine
Choose the mount by walking through the session you actually want, not the idealized version where the room is always empty and the cord is always exactly where you left it.
- For a bedroom routine: a door mount can work if the door is not heavily used during your session. A stand is better if you want to sit, stretch, or pair the session with a wind-down routine.
- For a home gym: a stand usually fits better because you can place the panel near a mat, rack, or open wall and avoid blocking a door. Keep it away from paths where weights, bands, or people move through.
- For an apartment or small room: a door mount saves floor space, but only if the door has enough clearance and the setup does not turn every session into a furniture shuffle.
- For skincare-focused use: either can work. The priority is comfortable positioning at face and upper-body height, plus glare management and enough space to stand or sit consistently.
- For lower-body or mobility routines: a stand is usually easier because you can place the panel around a chair, mat, or open floor area instead of negotiating with a door height.
If you are new to red light therapy panels, keep the routine simple before building a whole corner around it. The beginner schedule in your first 2 weeks with a red light therapy panel can help you decide whether your setup supports the habit or gets in the way.
Step 4: Run a five-minute fit check
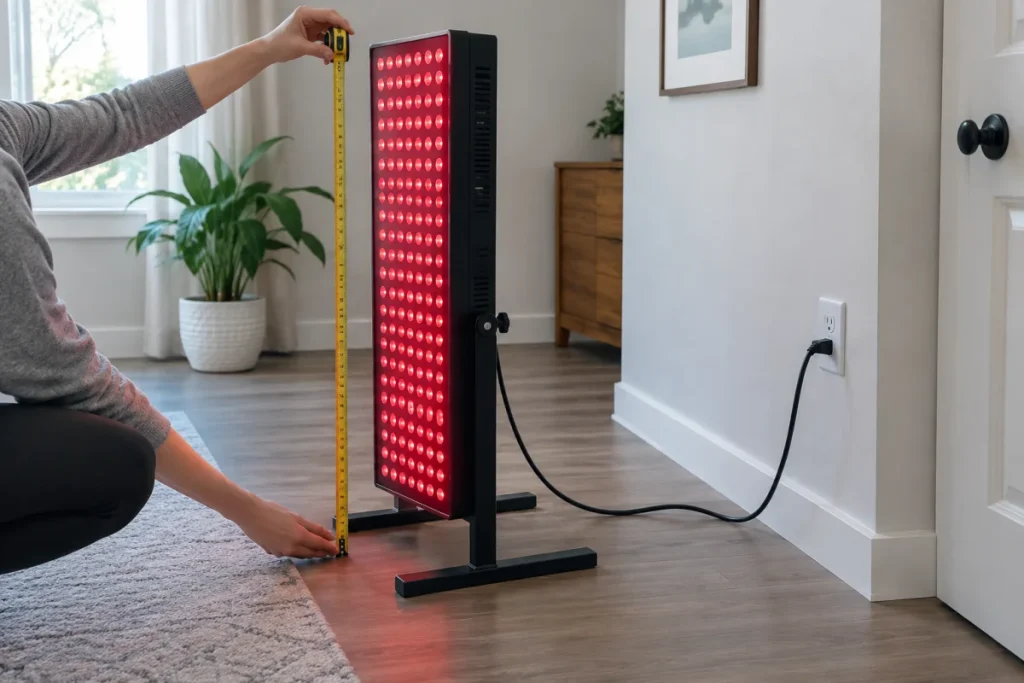
Do this before committing to either option. It is not glamorous, but it catches most setup regrets.
- Measure the panel and the space. Confirm width, height, and the room needed around the panel so you can stand, sit, or turn without bumping it.
- Check the weight rating. The accessory should clearly support your panel’s weight. Do not round down, guess, or rely on “close enough.”
- Test outlet access. The cord should reach without being pulled tight or crossing a busy walking path.
- Look for glare paths. Bright red and near-infrared panels can feel visually intense. Position the panel so it is not shining into someone else’s workspace, bed, mirror, or hallway.
- Simulate the session. Stand or sit where you would use it. Check whether the treatment area lines up comfortably without crouching, leaning, or doing wellness-themed geometry.
- Plan storage. Decide where the panel lives between sessions. If the answer is “I’ll figure it out later,” later often means the closet.
Common mistakes that make either option worse
- Buying the accessory before choosing the room. A stand that works beautifully in a spare room may be irritating in a narrow bedroom. A door mount that seems compact may be useless on the one door everyone uses.
- Ignoring panel growth. If you expect to upgrade from a small panel to a larger half-body or full-body setup, think about whether the mount can grow with the routine.
- Assuming published irradiance numbers translate into perfect dosage. Distance, angle, body position, and manufacturer reporting methods all affect how panels are compared. Treat specs as decision inputs, not guarantees.
- Letting cords define the room. A setup that needs an extension cord across open floor is a trip hazard and a habit killer.
- Forgetting shared-space etiquette. A panel can be part of a calm wellness setup, but it is still a bright device. Give other people in the room a glare-free path.
So, which should you choose?
Pick a door mount when the panel is compatible, the door is not heavily used, floor space is limited, and your sessions are mostly upright and simple. It is the cleaner choice for minimal setups, small rooms, and people who want the panel visible enough to remember but not parked in the middle of the room.
Pick a floor stand when you care more about positioning than compactness. It is usually the better match for larger panels, shared routines, seated use, lower-body positioning, home gyms, and anyone trying to make the panel feel like part of an intentional recovery space rather than a hanging chore.
The editorial preference here is straightforward: if you have the space and plan to use the panel regularly, a compatible floor stand usually creates the smoother daily experience. If space is the hard constraint, a door mount can be a smart compromise as long as the door, hardware, and routine all cooperate.
Fast answers
Can I use a large red light therapy panel on a door mount?
Only if the panel manufacturer or mount manufacturer clearly states compatibility for that panel size and weight. Larger panels increase the importance of weight limits, door clearance, secure hanging points, and safe cord routing.
Is a stand always safer than a door mount?
No. A stand is only as safe as its design, weight rating, assembly, and placement. A compatible stand on level flooring can be very practical, but an overloaded or poorly positioned stand is still a problem.
Will a door mount damage the door?
It can, depending on the hook design, door material, paint, trim, and how often the panel is moved. Check clearance and pressure points before leaving the panel mounted long term.
Which option is better for consistency?
The better option is the one that stays ready without blocking daily life. For many regular users that means a stand in a dedicated corner; for tight spaces it may be a door mount that keeps the panel visible and easy to reach.
Why the setup decision matters
Red light therapy panels became popular partly because they fit the broader move toward home recovery and wellness rituals. But the ritual only works if the physical setup is boringly convenient. The mount determines whether your panel is ready when you are, or whether every session begins with rearranging a room.
For a wider look at how panels moved from niche recovery gear into everyday wellness spaces, read why home red light panels became a wellness obsession. Then come back to the practical question: where will the panel live tomorrow, next week, and after the excitement fades?