A red light therapy beginner plan works best when it starts smaller than your enthusiasm. The first two weeks are not about chasing the longest session or the most intense setup. They are about learning your panel, finding a comfortable distance, choosing the body areas that matter most, and building a routine you can repeat without turning your home into a mini clinic.
Health-related decisions such as using light therapy for symptoms, diagnosed conditions, medication-related photosensitivity, or eye concerns should be handled with a qualified healthcare professional, and device use should follow the manufacturer’s safety instructions and applicable local electrical safety requirements.
Red light panels became popular because they fit a specific modern wellness desire: a recovery ritual that feels intentional, technical, and easy to do at home. If you want the broader context, this overview of why home red light panels became a wellness obsession explains the cultural side of that shift. The plan below stays practical: what to do, what to notice, and how to avoid common beginner mistakes.
At a glance
- Start with one main use case, such as face and neck, lower body, back, or post-workout recovery.
- Use the distance and session length recommended in your panel’s manual before copying routines from social media.
- Begin with short sessions, then increase only if the routine feels comfortable and easy to repeat.
- Track consistency, comfort, and setup friction rather than expecting dramatic changes in two weeks.
- Keep the panel placement boringly repeatable: same chair, same mark on the floor, same time window.
Before day one: make the panel easy to use
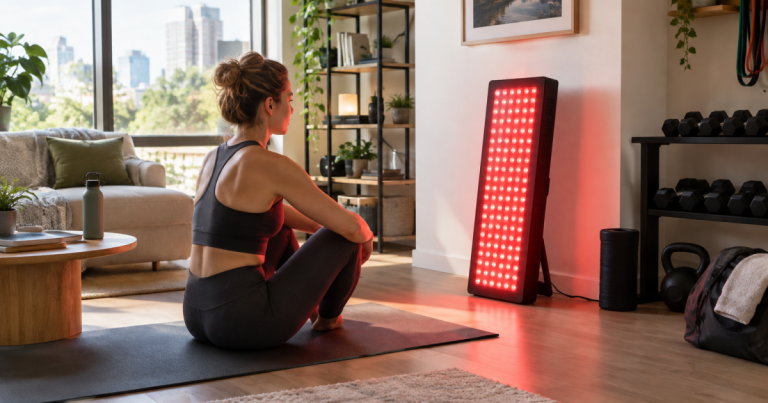
The best beginner setup is the one you do not have to reconstruct every session. Before you start, decide where the panel will live. A bedroom corner, home gym wall, bathroom-adjacent space, or office nook can all work if the panel has stable placement, access to an outlet, and enough room for you to stand or sit at the recommended distance.
Check three things before the first session. First, read the manual for the brand’s recommended distance, timing, and eye guidance. Second, confirm whether your panel uses red light only, near-infrared only, or a mix of both. Red light is visible; near-infrared is usually not, even when the LEDs are active. Third, decide which body area you are actually prioritizing. Full-body ambition is common, but a focused start makes it easier to learn what the device is like in real life.
If you are still comparing panels, prioritize coverage class, wavelength profile, mounting options, and how the brand reports irradiance. The Red Light Panel Specs database is useful for comparing those fields without pretending that every manufacturer reports measurements in the same way.
Days 1 to 3: keep it almost too simple
For the first three days, use the panel once per day or every other day, depending on how cautious you want to be and what the manual allows. Choose one target area. For many beginners, that might be face and neck, thighs and knees, lower back, or shoulders. Avoid rotating through every possible area immediately; that makes it harder to judge comfort and makes the routine feel longer than it needs to be.
A sensible first session is short and easy: a few minutes for one area, at the manufacturer’s recommended distance, with eye protection or eye-position guidance followed exactly as directed. If your panel has separate red and near-infrared modes, do not assume more modes are automatically better. Use the setting the manufacturer recommends for general use, or keep the first sessions simple enough that you can tell how your skin and eyes feel afterward.
After each session, note three things: session length, distance, and comfort. You do not need a complicated tracker. A note in your phone is enough. The goal is not to score results. The goal is to remove guesswork before you add time or coverage.
Day 4: pause and check the routine, not the mirror
Day 4 is a good time to pause or take a lighter session. Beginner routines often fail because people evaluate the wrong thing too early. Two or three sessions are not enough time to draw big conclusions about appearance, recovery, sleep, or performance. What you can evaluate is the ownership experience.
- Was the panel already set up, or did you have to drag it out?
- Did the session fit naturally before a shower, after training, or during a wind-down window?
- Was the distance easy to keep consistent?
- Did your eyes feel comfortable with the protection or positioning used?
- Did the session feel calm, or did it feel like another task to manage?
If the routine feels annoying, fix the environment before adding more time. Move the chair. Mark the floor. Use a timer. Place eyewear where you cannot miss it. A red light panel is easier to use consistently when the room itself quietly nudges you into the habit.
Days 5 to 7: add repeatability before intensity
During the second half of week one, repeat the same body area and setting. If the first sessions were comfortable and your manual supports it, you can add a little time. Think in small increments, not big jumps. The practical aim is to finish week one with a routine that feels sustainable, not impressive.
This is also the point to decide whether the session belongs in the morning, after a workout, or in the evening. Morning sessions can work well for people who like clear routines before the day gets crowded. Post-workout sessions may pair naturally with stretching or mobility work. Evening sessions can feel calming, but bright visible light is not everyone’s favorite right before bed. Let your schedule and comfort decide.
If you miss a day, do not compensate by doubling the next session. Just resume. A panel routine is more like brushing your teeth than cramming for an exam: the value is in ordinary repetition.
Week 2: expand one variable at a time
In week two, you can make the plan slightly more ambitious, but only by changing one variable at a time. Add a second body area, add a small amount of time, or increase the number of weekly sessions. Do not do all three at once.
Option 1: add a second area
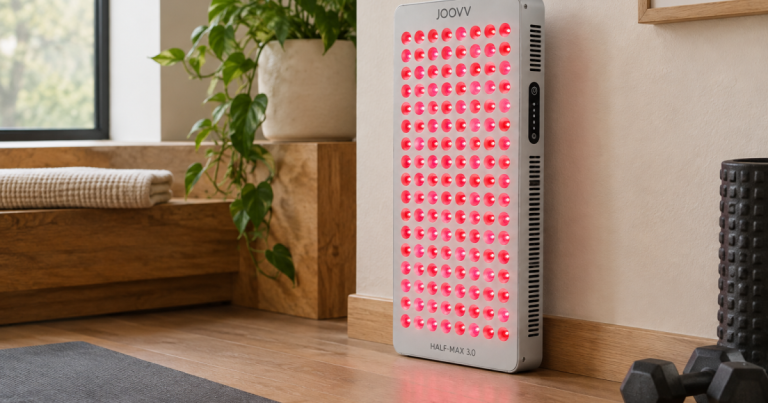
If week one focused on face and neck, week two might add chest, shoulders, or another area that fits the panel’s coverage. If week one focused on legs, you might add lower back or hips. Keep each area within the brand’s recommended timing. A larger panel can make this easier because it covers more surface area per session, while a compact tabletop panel may require more repositioning.
Option 2: keep the area and improve the setup
This is the underrated path. Instead of doing more, make the session smoother. Adjust the chair height. Place a mat where you stand. Use a simple timer. Put the panel in a spot where you do not have to negotiate with clutter. Many people benefit more from a frictionless eight-minute habit than from a theoretically perfect routine they skip twice a week.
Option 3: connect it to an existing ritual
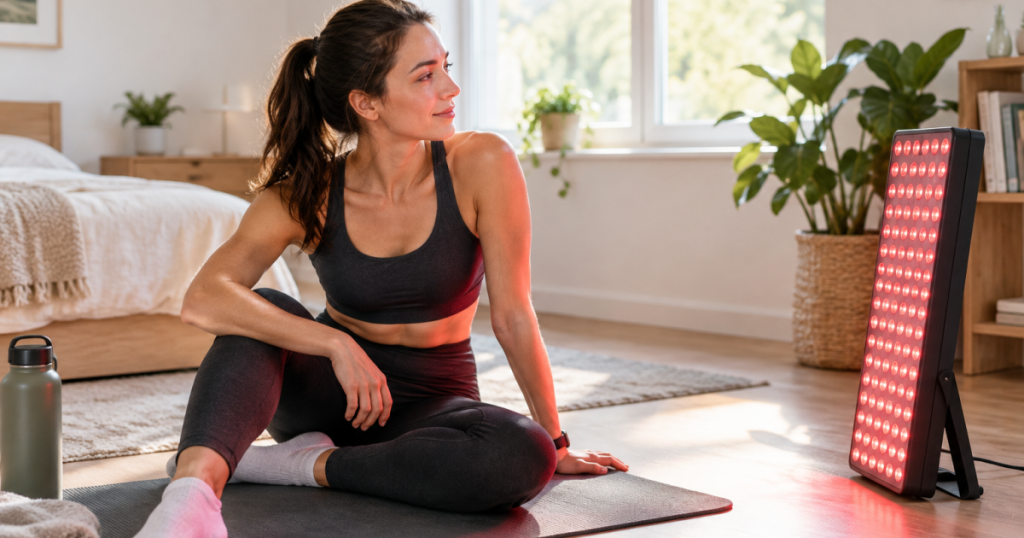
Pair the panel with something you already do. After training, it can sit next to hydration and stretching. For skincare-focused users, it may fit after cleansing and before heavier products, depending on the routine. For desk-bound users, it can become a short break that does not involve another screen. Keep the pairing simple enough that the session still feels like a reset.
What not to judge in the first two weeks
The first two weeks are useful, but they are not a clinical trial. Do not judge the panel by dramatic before-and-after expectations. At-home panels vary by size, wavelength mix, stated irradiance, distance, and how consistently they are used. Published research on red and near-infrared light also varies by device type, dose, body area, and study design, so it is not responsible to translate every study into a guaranteed home outcome.
What you can judge is whether the panel suits your life. Does it fit the room? Is it comfortable to use? Can you maintain the recommended distance? Do you enjoy the ritual enough to repeat it? Those are not minor questions. They determine whether an expensive wellness device becomes part of your week or just another object leaning against the wall.
Beginner mistakes that make panels harder to stick with
- Starting with too many body areas. More coverage can mean more complexity, which can kill momentum early.
- Ignoring the manual. Manufacturer guidance matters because panel design, beam angle, modes, and recommended distances vary.
- Chasing irradiance numbers without context. Reported irradiance can be measured and presented differently across brands.
- Using inconsistent distance. A session from 6 inches away is not the same as a session from 24 inches away.
- Forgetting eye comfort. Follow the device’s eye guidance, especially when using panels near the face.
- Expecting certainty too soon. In two weeks, routine quality is easier to assess than biological outcomes.
A simple 14-day structure
- Day 1: Set up the panel, read the manual, choose one body area, and do a short first session.
- Day 2: Repeat the same setup. Note distance, time, and comfort.
- Day 3: Repeat again, or rest if you prefer an every-other-day start.
- Day 4: Check the setup. Move the panel, chair, timer, or eyewear if the routine feels clumsy.
- Day 5: Resume with the same area and setting.
- Day 6: Add a small amount of time only if the first sessions felt comfortable and the manual supports it.
- Day 7: Keep the routine steady. Do not add a second area yet unless the first week has felt effortless.
- Days 8 to 10: Add one variable: a second area, a slightly longer session, or one extra weekly session.
- Days 11 to 13: Repeat the same plan. Focus on consistency rather than novelty.
- Day 14: Review what worked: time of day, placement, comfort, and whether you want a focused or broader routine going forward.
Quick answers
Should beginners use red light, near-infrared, or both?
Many home panels combine red and near-infrared light, but the best starting point is the manufacturer’s default or recommended mode. Red light is visible and commonly associated with surface-level routines; near-infrared is less visible and often discussed in relation to deeper tissue exposure. Avoid treating those descriptions as guaranteed outcomes.
How close should I stand to the panel?
Use the distance in your manual. Panel size, beam angle, and output reporting differ, so a distance that makes sense for one device may not be appropriate for another. Marking the floor helps keep sessions consistent.
Is every day necessary?
No. A beginner does not need an aggressive daily schedule to build a good habit. Three to five sessions per week can be a more realistic starting rhythm for many people, provided it fits the device guidance and feels comfortable.
Practical takeaway
Your first two weeks with a red light panel should feel calm, repeatable, and slightly conservative. Start with one area, short sessions, consistent distance, and a setup that stays ready. Once the routine feels easy, expand slowly. That approach may look less dramatic than the routines shared online, but it gives you a much better chance of turning the panel into something you actually use.
Because this site is an independent publisher, product coverage may include affiliate relationships; the affiliate disclosure explains how that works. The useful part for beginners is the same either way: compare specs carefully, respect the manual, and build the habit before chasing the most advanced routine.