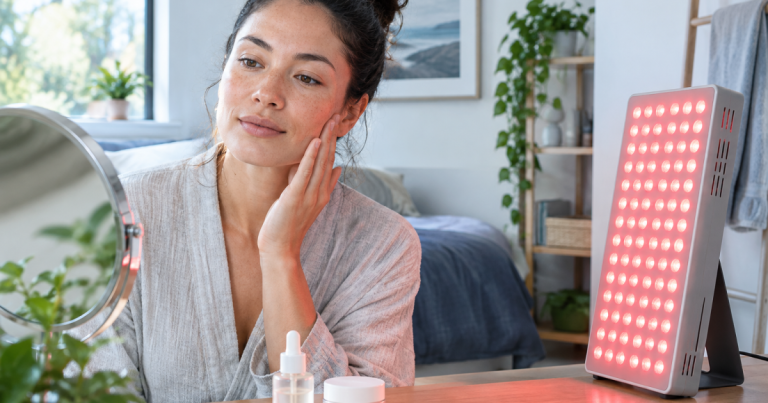
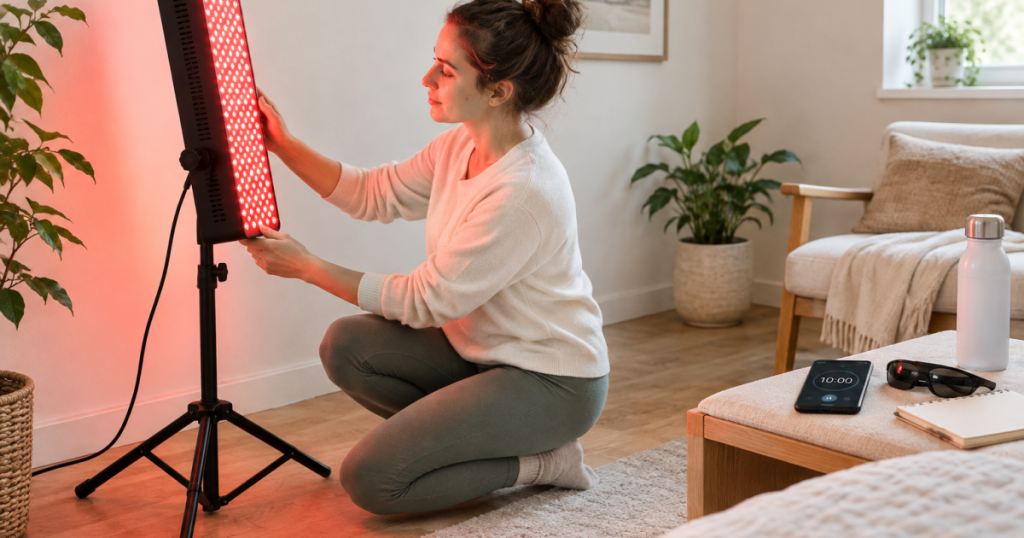
Sensitive facial skin can turn a polished light routine into a guessing game: a little warmth, a little impatience, and suddenly the mirror is giving feedback. If you are researching red light therapy for rosacea, the safest approach is to treat the panel like a controllable exposure, not a beauty shortcut. The goal is a low-heat, repeatable routine that your skin can tolerate before you add time, intensity, or near-infrared light.
Diagnosis, prescription skincare changes, and treatment decisions for rosacea should be handled by a qualified dermatologist or licensed healthcare professional in line with applicable medical standards and local safety requirements.
Safe starting point for flare-prone skin
For rosacea-prone or very sensitive facial skin, begin with the panel farther away than a typical wellness routine, use red light only if your device allows it, and keep the first sessions brief. A conservative first test is 2 to 3 minutes from about 18 to 24 inches away, every other day, on calm skin rather than during an active flare. Stop the session if your face feels hot, stingy, tight, or unusually flushed.
Red light panels are not a substitute for rosacea care, and at-home routines should not be framed as treatment. The practical value is in control: distance, timing, warmth, product timing, and whether near-infrared is included. Those variables are what make the difference between a soothing ritual and a session that asks too much from an already reactive barrier.
Step 1: Start when your skin is boring
The best test day is a dull skin day. That means no strong flare, sunburn, windburn, peeling, recent facial waxing, fresh exfoliation, or new active skincare. If your cheeks already feel hot before the panel turns on, postpone the session. Red light is still light exposure, and sensitive skin usually gives clearer feedback when fewer triggers are competing at once.
Keep the pre-session routine plain: gentle cleanse if needed, dry skin, and no acids, retinoids, benzoyl peroxide, strong vitamin C, or fragranced products immediately beforehand. Afterward, use a simple moisturizer if your skin likes one. During daytime routines, sunscreen still matters; a panel session does not replace sun protection.
Step 2: Use distance as your main intensity control
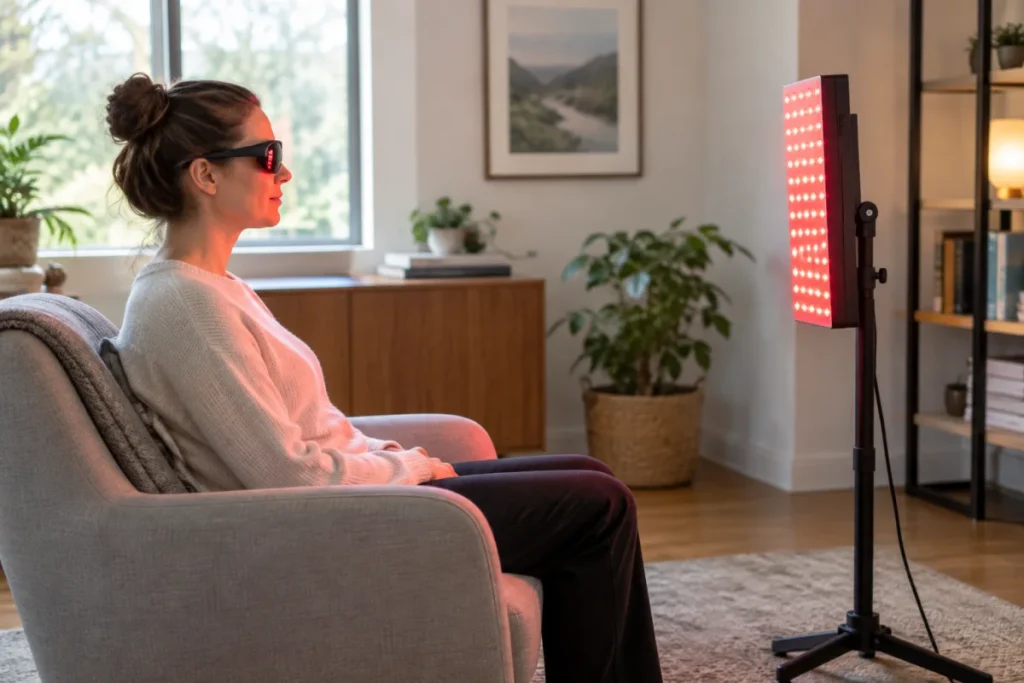
Distance is the simplest way to make a panel gentler. Moving farther back reduces the intensity reaching your face and usually reduces perceived warmth. If a brand’s general instructions suggest a closer position, rosacea-prone users should still consider starting farther away and working inward only if skin remains calm.
Do not use wattage or LED count as a shortcut for facial intensity. Manufacturer reporting varies, and irradiance numbers are not always measured the same way, so comparisons need context. For a clearer reading of panel spec language, the site’s guide to irradiance rather than wattage or LED count explains why these figures should be interpreted carefully.
- First sessions: 18 to 24 inches away, 2 to 3 minutes.
- If skin stays calm for several sessions: add 1 minute, not a big jump.
- If warmth builds quickly: move back before increasing time.
- If redness lasts into the next day: pause and reset to a shorter exposure.
Step 3: Choose red-only before adding near-infrared
Many modern panels combine visible red wavelengths with near-infrared, often abbreviated NIR. For very reactive facial skin, red-only mode is the cleaner first experiment because it removes one variable and keeps the session easier to visually understand. NIR is invisible, so people sometimes underestimate that the device is still emitting light.
If your panel has separate controls, run red only for the first couple of weeks. If your skin stays calm, you can decide whether NIR belongs in your facial routine at all. Some users keep NIR for body sessions and use red-only for the face; that is a perfectly reasonable ownership choice, not a downgrade.
Step 4: Build a heat check into every session
Rosacea-prone skin often reacts to heat, so the session should feel neutral rather than toasty. Before starting, make sure the room is not overly warm, the panel has airflow, and your face is not pressed close to the LEDs. During the session, check for heat at the one-minute mark. A faint awareness of light is different from a hot, prickly, or swelling sensation.
Use protective eyewear and avoid staring into the LEDs. Even when the session is aimed at the cheeks or jawline, eye comfort matters because facial panel routines place the eyes near the beam. If your skin is calm but your eyes feel strained, the setup still needs adjusting.
Step 5: Match the panel format to a calm routine
The safest routine is usually the one you can position consistently. A small tabletop panel can work well for face-only sessions because it is easy to aim and easy to stop. A larger half-body panel can still be used carefully, but it needs enough room to sit farther back and keep the face out of unnecessary heat.
If you are comparing panel sizes for a face-and-upper-body setup, a specs page such as the Mito Red Light MitoPRO 750X entry can help you check coverage class, mounting options, wavelengths, and reported irradiance without relying on marketing shorthand. The useful question is not “Which panel is strongest?” but “Which panel can I place repeatably at a gentle distance?”
Common mistakes that trigger unnecessary redness
- Starting during a flare: reactive skin gives noisy feedback, making it hard to tell what the panel did.
- Going too close too soon: more intensity is not automatically better for facial skincare routines.
- Stacking actives before light: exfoliating acids or retinoids can make a first session harder to interpret.
- Using warmth as proof it is working: for rosacea-prone skin, warmth is often a reason to back off.
- Changing several variables at once: adjust time, distance, or NIR use one at a time.
When to pause and get medical guidance
Stop using the panel on your face and seek dermatology guidance if you develop worsening burning, swelling, rash-like irritation, eye symptoms, painful bumps, or redness that becomes more persistent after sessions. Also pause if your prescribed rosacea plan changes; new topical or oral medication can change how your skin behaves, and it is worth letting the medical plan settle before experimenting again.
Keep a simple log for the first month: date, distance, session length, red-only or red plus NIR, products used, and how your skin looked later that day and the next morning. This is not glamorous, but it is the fastest way to separate a tolerable ritual from a pattern that keeps nudging your skin into irritation.
Common questions
Can a red light panel cure rosacea?
No. A home panel should not be treated as a cure or a replacement for medical care. Some people explore light-based routines for the appearance of redness and general skin comfort, but rosacea is a medical skin condition with triggers and treatment options that vary by person.
Is a mask safer than a panel for sensitive skin?
Not automatically. Masks sit close to the skin, while panels let you control distance more freely. A mask may feel convenient, but a panel can be easier to make conservative because you can move back, shorten the session, and avoid trapping warmth against the face.
Which panel style makes the most sense?
For face-first routines, prioritize stable positioning, separate red and NIR controls if available, and enough space to sit back comfortably. A half-body panel such as the Hooga Ultra 750 is worth comparing if you want facial sessions plus broader coverage, but sensitive-skin use still depends on distance and timing rather than size alone.
What to remember
With rosacea-prone skin, the winning routine is deliberately uneventful: short, cool, consistent, and easy to repeat. Start with red-only light, stay farther back, check for heat early, and change just one variable at a time. If your skin stays calm, you can slowly refine the ritual; if it argues back, believe it and step down.
A helpful way to judge progress is to use a 24-hour “skin report card,” not just how your face feels while the LEDs are on. Calm during the session matters, but delayed tightness, extra sensitivity to moisturizer, or a longer-than-usual flush later that evening can still mean the dose was too ambitious. For sensitive skin, success often looks boring: no drama during the session, no rebound heat afterward, and no extra reactivity the next morning.
- Green light: skin feels normal afterward and looks like its usual baseline the next day.
- Yellow light: mild warmth or pinkness fades quickly, but you are not fully sure it was neutral. Hold the same settings rather than increasing.
- Red light: burning, stinging, swelling, persistent flushing, or a flare pattern means pause and restart more conservatively only after skin settles.
Resist the urge to “optimize” too quickly. Many panel routines fail sensitive skin not because the device is inherently too strong, but because the setup keeps changing: closer distance one day, longer time the next, a new serum after that. Keep the routine almost boring for long enough that your skin can give a clear answer.
If you do well with a conservative facial setup, that does not mean every area of the body needs the same rules. Cheeks, nose, and chin may need a gentler approach than shoulders, legs, or hands. Treat your face as its own category, and let comfort, temperature, and next-day skin behavior guide the routine more than ambition.