A studio can make a wellness routine feel either beautifully simple or faintly absurd. Fitting a red light therapy panel in a studio apartment is less about finding the tiniest device and more about creating a repeatable zone that does not block your bed, closet, kitchen path, or sanity.
The goal is a setup you can use without rearranging furniture every time. A panel that lives in a realistic spot will beat a more impressive panel that has to be excavated from behind winter coats.
Permanent wall mounting, ceiling mounting, adding an outlet, or altering electrical wiring should be handled by a qualified professional so the setup complies with local building codes, lease rules, and electrical safety standards.
The small-space plan that usually works
For most studios, the safest and most practical arrangement is a seated or standing light zone beside a wall outlet, using either a stable floor stand, a renter-safe door mount, or a tabletop panel. Leave a clear walking lane, keep cords against the wall rather than across the room, and choose a storage spot that lets the panel come out in under one minute.
- Best everyday location: next to a closet wall, beside a dresser, or near a corner that is not part of the bed-to-bathroom path.
- Minimum floor clearance to plan for: aim for about 30 inches of clear walking space where possible, plus enough depth for the manufacturer’s recommended treatment distance and your seated or standing posture.
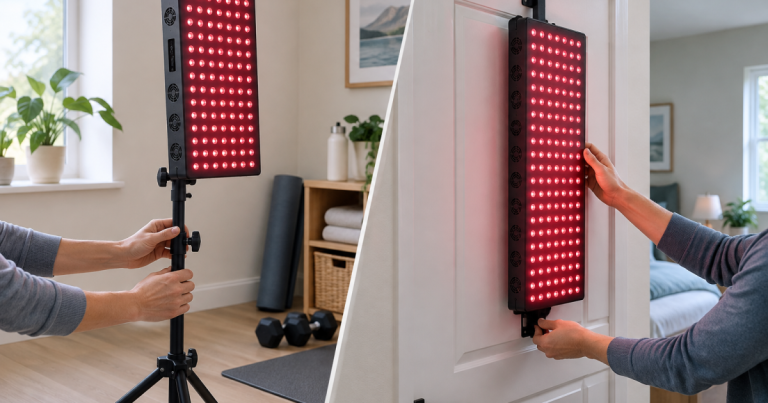
- Best renter-friendly mounting: a freestanding stand or over-door setup that does not require drilling into walls.
- Best storage habit: leave the panel visible if you can; if not, store it upright, dry, and protected from bumps.
Step 1: Choose the body position before the panel position
Start with the posture you will actually use. In a studio, that usually means one of three setups: seated on a stool, standing in front of a wall or door, or sitting on the edge of the bed with the panel placed safely in front of you.
A seated setup is often the easiest to repeat because it needs less floor depth and reduces the temptation to shuffle around mid-session. A standing setup can work well for larger panels, but it needs more open space and a clearer cord path. Bed-edge setups are convenient, but only if the panel sits on a stable surface or stand and is not perched where it can tip.
Before buying accessories, do a dry run with painter’s tape. Mark the panel location, your feet or chair position, the door swing, and the cord path. If the taped layout makes the room feel like an obstacle course, the real version will not improve with optimism.
Step 2: Measure the working envelope, not just the panel
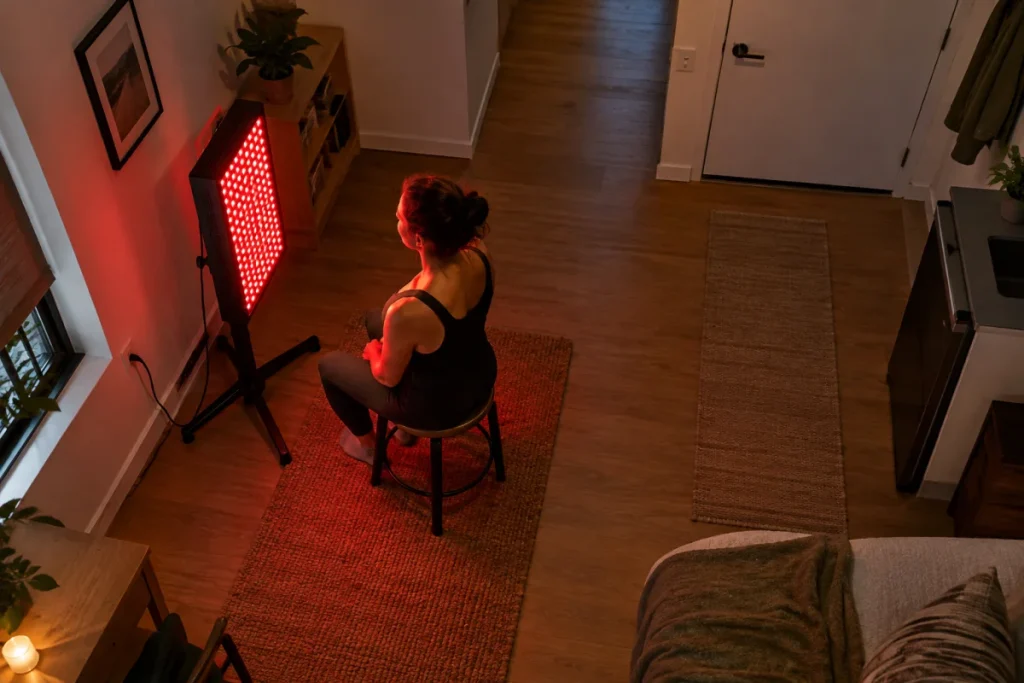
Panel dimensions matter, but the usable footprint is larger than the device itself. A studio setup needs space for the panel, the stand or mount, your body position, the cord, ventilation space around the unit, and the path you still need for daily life.
- Panel face: allow room for the light to face you squarely instead of angling across the room.
- Session distance: follow the distance guidance in the product manual; do not assume every panel is used the same way.
- Chair or stool: include the full footprint, not just where the legs touch the floor.
- Door swing: if the panel goes on a door, check whether the door can still open safely without hitting furniture.
- Cord path: plan a route along the wall, behind furniture, or through a low-profile cord cover rather than across open floor.
This is where small-space buyers often discover that a medium panel can be easier than a larger one. More coverage is appealing, but every extra inch competes with storage, glare control, and everyday movement.
Step 3: Pick a mounting style that matches rental life
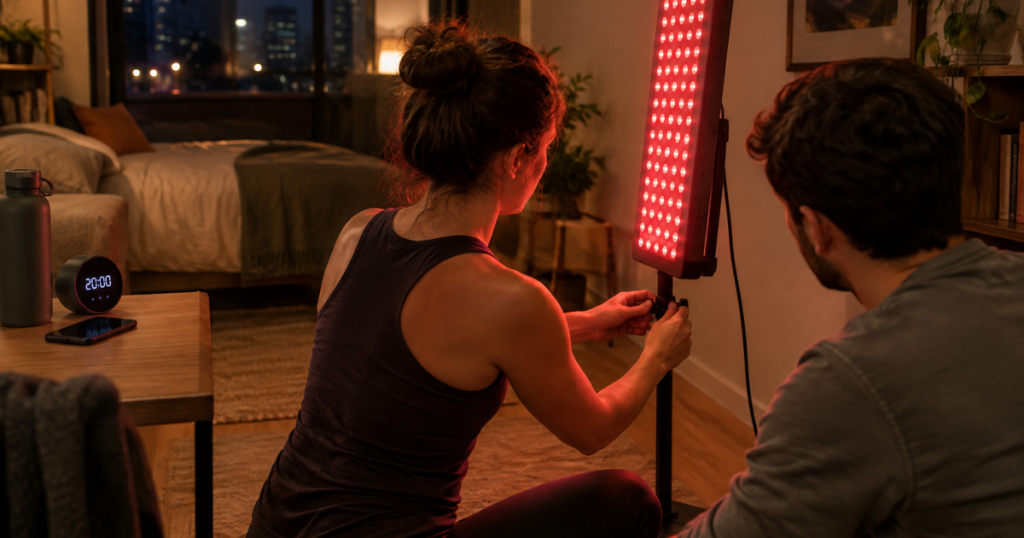
A freestanding stand is the most flexible choice if you want to move the panel between a workout mat, a desk chair, and a bed-edge routine. The trade-off is floor space. In a studio, even a slim stand can feel like a guest who refuses to leave.
A door mount saves floor space and can be excellent for a closet door that does not get constant use. It is less ideal on a bathroom door, entry door, or any door you open repeatedly. Door mounts also put the panel’s location at the mercy of hinges, handles, and the direction the door swings.
A wall mount gives the cleanest look, but renters should treat it carefully. It may require lease approval, proper anchors or studs, and patching later. If you cannot commit to that, do not talk yourself into holes you will resent on move-out day.
For a half-body format that can make sense in a compact routine, compare the sizing and mounting fields for the Mito Red Light MitoPRO 750X. Use the entry as a planning reference, not a promise that it fits every layout.
Step 4: Match panel size to the apartment, not the fantasy room
Small panels are easiest to store and can work well for face, neck, hands, or targeted routines. They are also the least demanding option if your studio has one outlet, one tiny closet, and a bed that appears to occupy 80 percent of the climate.
Half-body panels are often the more balanced choice for motivated home users. They feel more substantial than a tabletop device but are still easier to place than a full-body system. They usually pair well with a stool, a narrow wall space, or a door-based layout.
Full-body panels are not impossible in a studio, but they need a dedicated zone. If the only place they fit is in front of the fridge or across the front door, the setup is already arguing with you. A larger panel makes more sense when you have an unused wall, a reliable storage corner, or a home gym area that is already part of your routine.
When you are checking options, look at more than headline size. The Joovv Half-Max 3.0 database entry is useful because it keeps practical comparison fields together, including dimensions and mounting-related details. Those fields matter more in a studio than a dramatic product photo ever will.
Step 5: Route the cord like it is part of the setup
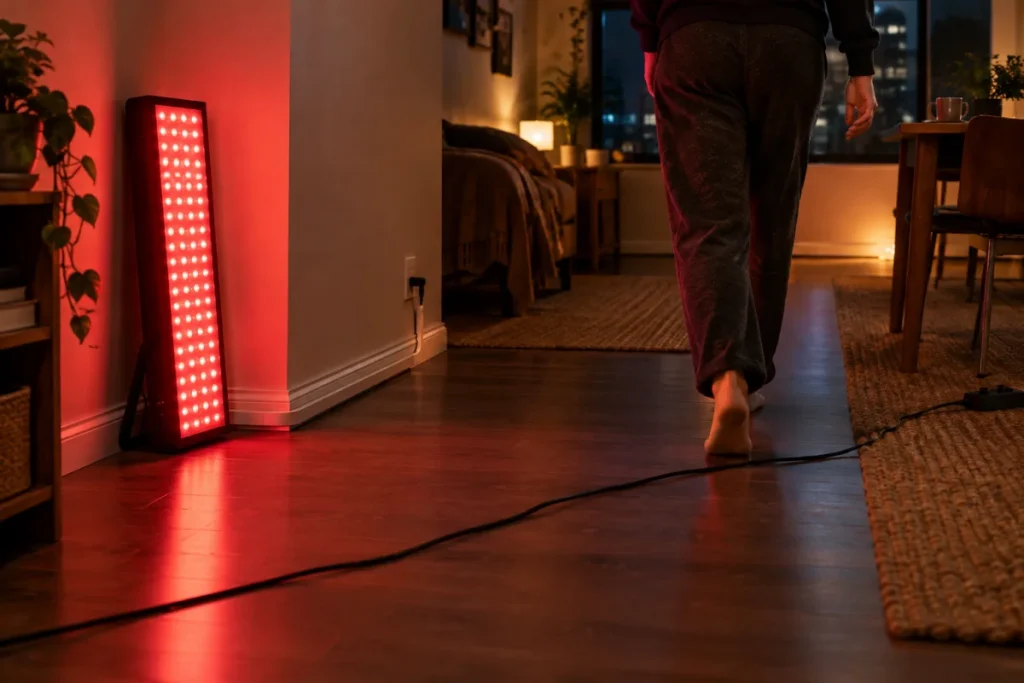
Cord management is not glamorous, but it decides whether your light corner feels intentional or temporary. Use the outlet closest to the panel position when possible, and avoid routing cords across the main walking path. The highest-risk path is the one you take half-awake at night.
- Keep cords close to walls or furniture edges.
- Use low-profile cord covers where a cable must cross a short exposed section.
- Avoid running power cords under rugs where heat, pressure, or hidden damage can become a problem.
- Do not daisy-chain extension cords or overload an outlet.
- Check the panel manual before using external timers or smart plugs, and only use accessories rated for the electrical load.
If the best panel location is too far from an outlet, rethink the location before you rethink electrical safety. A slightly less perfect light angle is better than a cable stretched across the room like a tripwire with ambition.
Step 6: Control glare and privacy
Red light is visually bright, and near-infrared light may be partly or fully invisible depending on the device. Either way, treat the light direction seriously. Aim the panel at your body, not across mirrors, windows, TV screens, or a neighbor-facing window.
Use protective eyewear when the manufacturer recommends it, and avoid staring directly into the LEDs. If your studio has mirrors on closet doors, test for reflections before settling on the spot. A simple curtain, folding screen, or repositioned stool can make the session feel calmer and less like you have opened a wellness portal in the middle of dinner prep.
Step 7: Store it so the habit survives
The best storage spot is close to the use spot. If you have to carry the panel across the apartment, unplug a lamp, move shoes, and find a stool every time, your routine now has a committee meeting before it begins.
Good storage options include a closet side wall, a gap beside a dresser, a sturdy shelf for a tabletop unit, or a stand that can roll or slide into a corner. Keep the panel dry, away from bathroom steam, protected from pets, and clear of laundry piles. Fabric, dust, and cords make a poor long-term friendship.
If you must store the panel in its box, keep the box accessible and avoid stacking heavy items on top. The less ceremony required, the more likely you are to use the panel consistently.
Step 8: Build one routine before optimizing everything
Start with one repeatable moment: after a shower, after a workout, before a wind-down stretch, or during a short seated break. Set the panel in the same place, use the same stool or mat, and follow the device manual for distance, timing, and eye guidance.
Red light therapy research and product design often discuss wavelengths, irradiance, and exposure time, but home use still depends heavily on repeatability. More complicated is not automatically more effective. A routine you can do three or four times a week without rearranging the room is more valuable than a theoretical perfect setup that irritates you.
Mistakes that make a studio setup harder
- Buying the largest panel first: coverage is useful only if the room can support the footprint.
- Ignoring door clearance: an over-door setup can fail fast if the door hits the bed, hamper, or desk chair.
- Using the bathroom as the default location: humidity, outlets, and tight movement make bathrooms less appealing for many panel routines.
- Letting cords cross the room: convenience drops quickly when setup starts with untangling cables.
- Hiding the panel too well: deep storage turns a wellness tool into an expensive memory.
Apartment setup questions
Can a full-body panel work in a studio?
Yes, but only when it has a dedicated wall, corner, or stand position that does not block normal movement. If you are weighing a larger system, compare space demands with our guide to full-body red light therapy panels for at-home routines before assuming bigger is better.
Is a door mount better than a floor stand?
A door mount is better when floor space is extremely limited and the door is not used constantly. A floor stand is better when you want more placement flexibility or do not trust the door swing, hardware, or daily traffic pattern.
Where should the panel go if the bed takes up most of the room?
Use the wall beside the bed, a closet door, or a seated corner rather than placing the panel at the foot of the bed where it blocks walking space. A lightweight stool can create a repeatable session position without turning the bed into your only option.
Make the setup boring in the best way
A good studio apartment setup is not the one that looks most impressive online. It is the one that keeps the panel accessible, stable, properly powered, and easy to use without negotiating with every piece of furniture you own.
Choose the body position first, measure the real working envelope, route the cord safely, and keep storage close. Once those pieces are handled, the panel can become part of the room’s rhythm rather than another object competing for space.