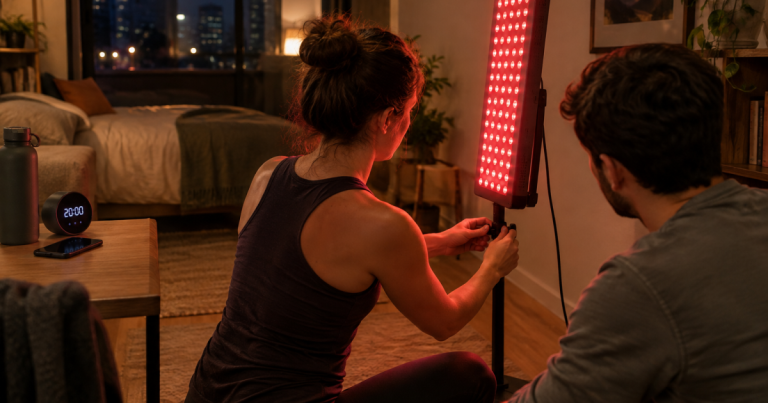
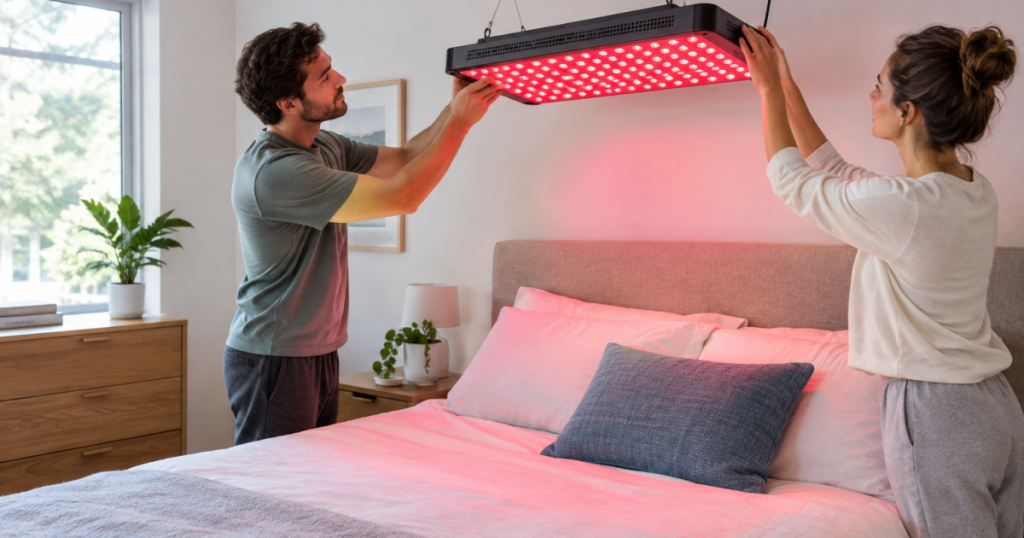
A red light therapy panel over bed setup sounds simple until you picture a heavy light source suspended near your face at 6:30 a.m. The goal is not to build a spa spaceship; it is to create a stable lying-down session that keeps the panel secure, ventilated, reachable, and repeatable.
Ceiling mounting, wall mounting, electrical outlet changes, and any structural fastening above a sleeping area should be carried out by a qualified professional to meet local building codes, electrical standards, and safety requirements.
The short version
For lying-down red light sessions, the safest setup is usually a manufacturer-compatible horizontal stand or a stable side-of-bed arrangement, not a improvised overhead frame. A good over-bed layout depends on five checks: the panel’s weight, the stand’s published load limit, the height range, the horizontal reach, and whether the stand legs or wheels can sit securely around the bed without twisting, tipping, or trapping cords.
If any of those checks are uncertain, use the panel beside the bed, at the foot of the bed, or in a seated setup instead. Red and near-infrared light routines can be pleasant and easy to repeat, but the equipment still needs to behave like equipment: locked, balanced, cooled, and kept away from bedding.
Step 1: Decide whether the bed is really the best session spot
Lying down can make sense if your routine is built around relaxation, post-workout decompression, stretching, or a low-friction evening habit. It can also reduce the temptation to hover awkwardly in front of a panel while checking the clock every 40 seconds.
The trade-off is control. A bed is soft, uneven, and surrounded by pillows, blankets, nightstands, charging cables, pets, and half-awake humans. That makes it less forgiving than a wall-mounted panel, a door-mounted setup, or a freestanding recovery corner.
Choose a bed setup only if you can keep a clear zone around the panel and stand. If your bed is squeezed tightly between furniture, pushed into a corner, or sitting on a base that leaves no floor clearance, a side-facing or seated layout is usually cleaner.
Step 2: Measure the bed before shopping for a stand
Do this before comparing panels, accessories, or ambitious online setups. A horizontal stand that looks elegant in a product photo can become useless if its legs cannot slide under your bed frame or its arm cannot reach the centerline of the mattress.
Measure these points in inches:
- Floor to mattress top: This is the baseline height the stand must clear before you add the panel distance.
- Under-bed clearance: If the stand has legs or wheels that need to tuck under the bed, check the lowest part of the frame, not just the open space in the middle.
- Mattress width: A wider bed may need more horizontal reach if the panel is meant to sit over the torso rather than near one edge.
- Panel-to-body distance: Use the manufacturer’s instructions as the starting point. Mark that distance physically once you choose the setup.
- Exit path: You should be able to get out of bed without stepping over a cord, stand leg, or rolling base.
For an over-bed panel, the safe fit is determined by five measurements: bed height from floor to mattress top, clearance under the bed base for stand legs or wheels, the stand’s published height range, the horizontal arm reach from the bed edge to the target area, and the panel weight limit. If any of these are missing or marginal, use a side-of-bed or floor routine instead of improvising a DIY overhead frame.
Step 3: Pick the support style with the least drama
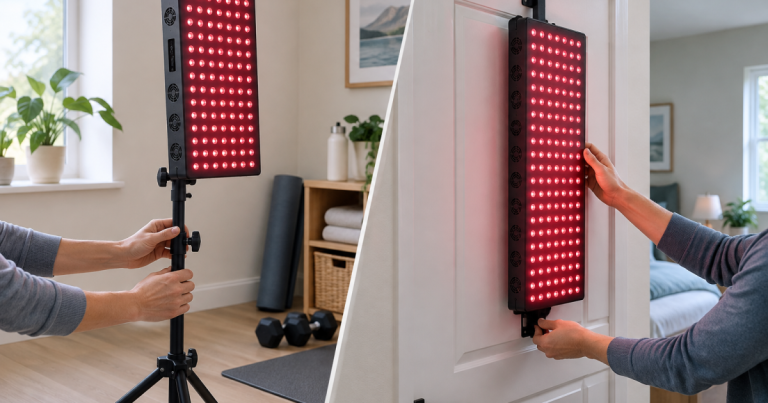
Manufacturer-compatible horizontal stand
This is the cleanest route when available for your panel. The important word is compatible. Match the stand to the panel’s mounting pattern, weight, and orientation rules. A stand built for a smaller panel should not be treated as a dare.
Look for published load limits, locking joints, stable wheels or feet, and a height range that works with your actual mattress height. If the stand rolls, the wheels should lock fully and sit on a flat surface. Thick rugs can make locking wheels less dependable, so test the base before adding the panel.
Side-of-bed vertical setup
A vertical panel placed beside the bed is often safer and easier than suspending anything overhead. You lie on your side, back, or stomach depending on the area you want to expose, then rotate positions if needed. It is less cinematic than an overhead rig, but it has one major advantage: gravity is not negotiating directly above your face.
This setup works well when the panel is tall enough for the area you care about and the room has a clear wall, nightstand gap, or stand position. It also keeps controls easier to reach.
Foot-of-bed setup
For legs, hips, or general lower-body routines, placing the panel at the foot of the bed can be simple. The panel still needs a stable stand or mount, and the beam angle should be intentional rather than guessed. Avoid balancing a panel on furniture unless the manufacturer specifically supports that use.
Step 4: Match panel size to the lying-down goal
Panel size changes the room problem. Compact panels are easier to place, but they cover less area at once. Large panels reduce repositioning, but they require more stand capacity, more clearance, and more attention to glare and heat around bedding.
For a half-body lying-down setup, compare panel weight, dimensions, listed wavelengths, and mounting options before you fall in love with the idea of a perfect bed rig. The Mito Red Light MitoPRO 750X specs page is a useful example of the kind of fields worth checking before planning a stand around a panel.
For larger coverage, the same logic gets more important, not less. A bigger panel may feel more convenient during the session, but it can be fussier to support over a soft, lived-in bedroom surface. If you are comparing a higher-coverage format, review the mounting and dimensions fields for something like the Joovv Half-Max 3.0 and then check the stand documentation from the manufacturer rather than assuming any horizontal arm will work.
Step 5: Set the distance once, then make it repeatable
Distance affects how much light reaches the skin, but at-home routines do not need fake laboratory precision. What matters for ownership is repeatability. Once you choose a manufacturer-recommended distance, make it easy to recreate without measuring every time.
Use low-tech markers:
- A small piece of painter’s tape on the floor where the stand wheels should sit.
- A mark on the bed frame showing where the panel arm lines up.
- A dedicated pillow position so your body lands in the same zone each session.
- A timer placed where you can stop the session without reaching through the light path.
Do not shorten the distance just because the panel “feels stronger.” Red and near-infrared light are not like stretching, where more sensation clearly tells you what is happening. Near-infrared light is largely invisible, and brightness is not a reliable dose meter.
Step 6: Control glare, heat, cords, and bedding
Over-bed positioning makes comfort details matter. Keep bedding, pillows, and loose fabric away from the panel housing and vents. Do not drape blankets over a stand, power cord, or control box. Give the panel open air on all sides according to the manufacturer’s guidance.
Glare is another practical issue. Red light can feel intense in a dark room, and near-infrared LEDs may be difficult to judge visually. Use the eye protection approach recommended by the panel maker, especially when the panel is above or near your face. If you prefer relaxing with eyes closed, still avoid staring into the LEDs while adjusting the unit.
Cords deserve more respect than they usually get. Route the power cable along the wall side of the bed when possible, not across the walking path. Keep plugs accessible so the panel can be turned off quickly. Avoid extension-cord spaghetti; it is the least glamorous accessory in the wellness universe and somehow always wins if ignored.
Common mistakes that make bed setups less safe
- Using a DIY overhead frame without a rated load limit: If the support cannot state what it can safely hold, it does not belong over a bed.
- Ignoring wheel placement: Wheels should be locked, fully supported, and positioned so the stand cannot roll or pivot toward the mattress.
- Letting the panel sit too close to pillows: Soft items shift during sessions and can block vents or contact the housing.
- Choosing panel size before checking the room: A larger panel is not automatically better if the stand footprint makes the bedroom annoying to use.
- Forgetting skincare timing: If you use the panel near your face, coordinate your routine so oils, occlusive products, or actives are not making the session messier or less comfortable. The timing guide on using a red light panel around skincare walks through that decision in more detail.
Straight answers
Can a red light panel be used while lying in bed?
Yes, if the panel is supported by a stable, compatible stand or mount and you follow the manufacturer’s instructions for distance, session time, ventilation, and eye protection. The bed itself should not be used as a support surface unless the product documentation specifically allows it.
Is an overhead setup better than a side setup?
Not automatically. Overhead positioning can feel more natural for lying on your back, but it adds stand-height, reach, and load-limit questions. A side setup is often simpler, easier to adjust, and safer in tighter rooms.
How close should the panel be?
Use the distance range provided by the panel manufacturer. Brands report output differently, and published irradiance numbers are not always measured in the same way, so do not assume two panels are equivalent just because their marketing numbers look similar.
Can I mount a panel to the ceiling above the bed?
Only with proper hardware, structural support, and professional installation. A ceiling-mounted panel over a bed is a structural and electrical decision, not a casual weekend shortcut.
Main lessons
The best over-bed red light arrangement is the one you can repeat without negotiating with gravity, cords, bedding, or your own patience. Start with measurements, use rated and compatible support hardware, keep the panel ventilated, and mark the setup so every session begins the same way.
If the room cannot support a clean overhead layout, do not force it. A side-of-bed or foot-of-bed setup may look less impressive, but it is often the more practical routine — and practical routines are the ones that actually survive past the first week.