
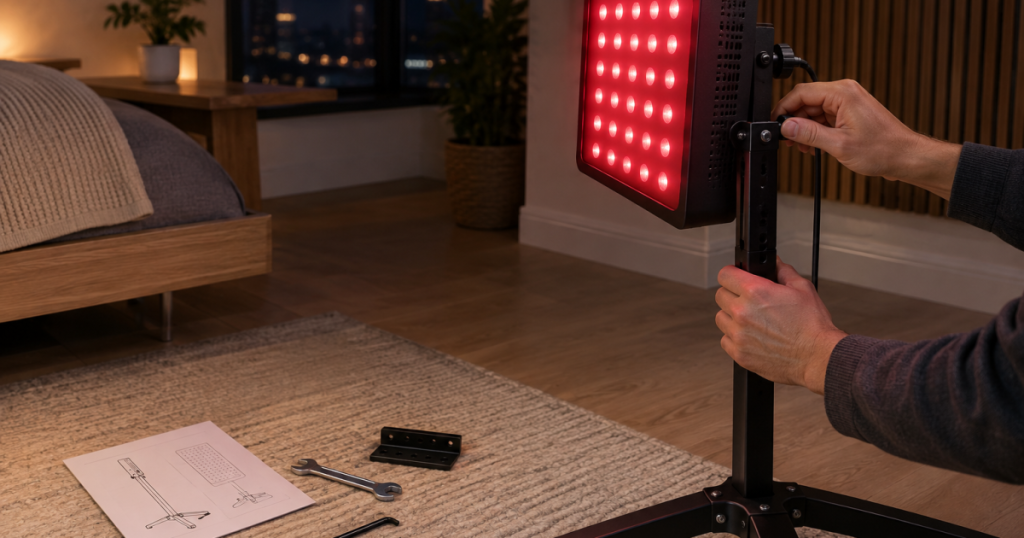
A third-party red light panel stand can turn an awkward session into a repeatable ritual, but only when the hardware matches the panel’s real mounting needs. The goal is not just getting the panel upright; it is keeping the beam angle stable, the cord strain low, and the session comfortable enough that you actually use the device.
Permanent wall or ceiling mounting that involves drilling into structure or routing power should be handled by a qualified installer or electrician to comply with local building, electrical, and safety requirements.
Main points
You can use a third-party or VESA stand for a red light therapy panel only when the mounting pattern, panel weight, bracket shape, fasteners, and stand load rating all line up. The most important checks are the VESA hole pattern in millimeters, the panel’s weight in pounds, whether the bracket clears switches and ports, whether the bolts engage securely without bottoming out, and whether a multi-panel setup exceeds the stand’s rated load. When any of those details are unclear, first-party hardware is the safer and usually less frustrating choice.
Step 1: Confirm the mounting pattern before looking at stands
Start with the back of the panel, not the stand listing. Many red light panels use a VESA-style hole pattern, but “VESA-compatible” is not a complete compatibility statement. VESA patterns are measured center-to-center between mounting holes, usually in millimeters, such as 100 x 100 mm or 200 x 200 mm.
Use a tape measure or ruler to measure horizontally between the centers of the left and right mounting holes, then vertically between the centers of the top and bottom holes. Convert inches to millimeters if needed. A rough inch measurement can be close enough to identify the pattern, but the stand’s bracket still needs to match the actual hole spacing.
If the panel’s documentation lists mounting options, use that first. For example, a specs page like the Mito Red Light MitoPRO 750X entry can help you see how mounting information fits alongside weight, dimensions, and coverage class when you are comparing setup requirements.
Step 2: Compare the panel weight with the stand’s real load rating
Weight is the check that gets skipped most often because the panel “looks” manageable. Do not rely on appearance. Find the panel weight in pounds, then compare it with the stand’s stated maximum load. Leave margin rather than treating the rating as a target.
A stand rated for a maximum load is usually being described under ideal conditions: correct bracket position, stable floor contact, and the load centered as intended. A tall panel mounted high, tilted forward, or attached with an adapter plate can feel more top-heavy than the same weight mounted lower and flatter.
This matters even more with larger panels. If you are comparing a mid-size panel such as the Hooga Ultra 750 against a rolling TV-style stand, check both the panel weight and the stand’s height range. A stand that technically holds the weight may still feel wobbly when extended upward.
Step 3: Check bracket geometry, not just bolt spacing
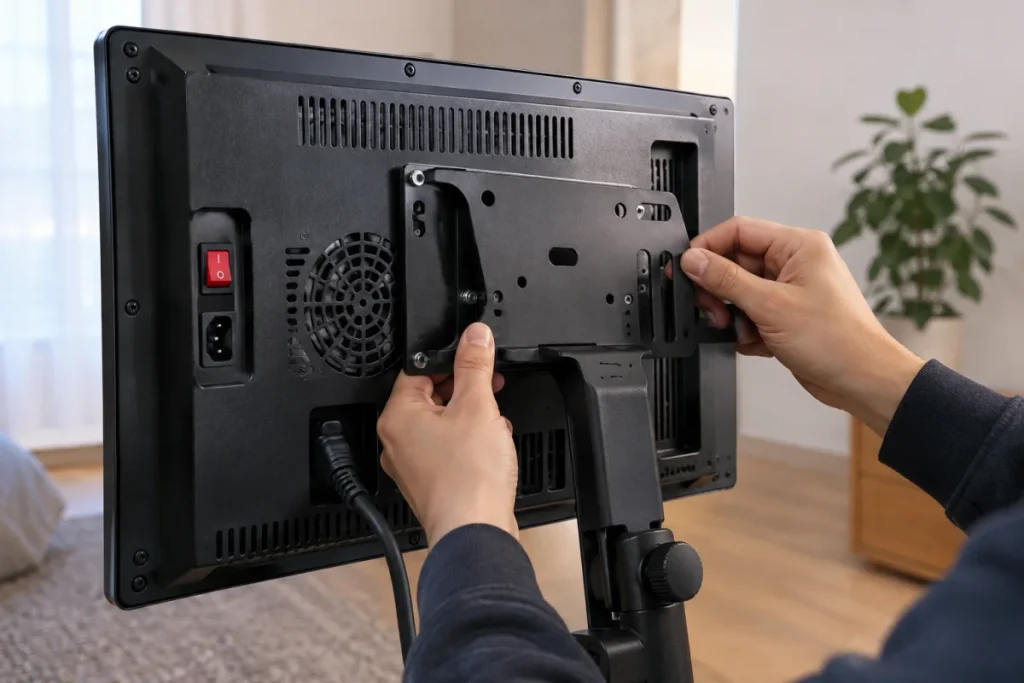
A matching hole pattern does not guarantee a clean fit. Bracket geometry is the shape, depth, width, and position of the mounting hardware once it sits against the panel. This is where many almost-compatible setups become annoying.
Look for these conflicts before buying or assembling anything:
- Does the bracket cover power switches, ports, vents, handles, fans, or control buttons?
- Does the bracket sit flat against the panel, or does the panel have a raised lip or recessed mounting area?
- Will the bracket force the cord to bend sharply or press against a wall or upright pole?
- Can the panel be tilted without the bottom edge hitting the stand column?
- Does the bracket leave enough clearance for protective eyewear, towels, mats, or seating in the actual session area?
Bracket shape matters because red light panels are not TVs. Their backs may include ventilation, control modules, daisy-chain ports, power inputs, or handles in places a TV bracket does not expect. A simple flat adapter plate is sometimes easier to work with than a large articulated arm, but only if it matches the panel and fasteners correctly.
Step 4: Match the bolts and locking hardware
The safest-looking stand can still be wrong if the bolts are the wrong diameter, thread pitch, or length. Use the panel manual when it provides bolt specifications. If it does not, compare the supplied hardware carefully and avoid forcing a bolt that resists after the first turn.
Good hardware engagement means the bolt threads smoothly, tightens evenly, and secures the bracket without bottoming out inside the panel. A bolt that is too short may not grip enough thread. A bolt that is too long can feel tight because it has hit the end of the insert rather than clamping the bracket properly.
Lock washers, nylon-insert nuts, or thread-locking methods may be used in some stand designs, but do not improvise in a way that prevents disassembly or damages the panel. The practical test is simple: once mounted, the panel should not slide, rattle, rotate, or sag when adjusted within the stand’s intended range.
Step 5: Treat multi-panel setups as a separate problem
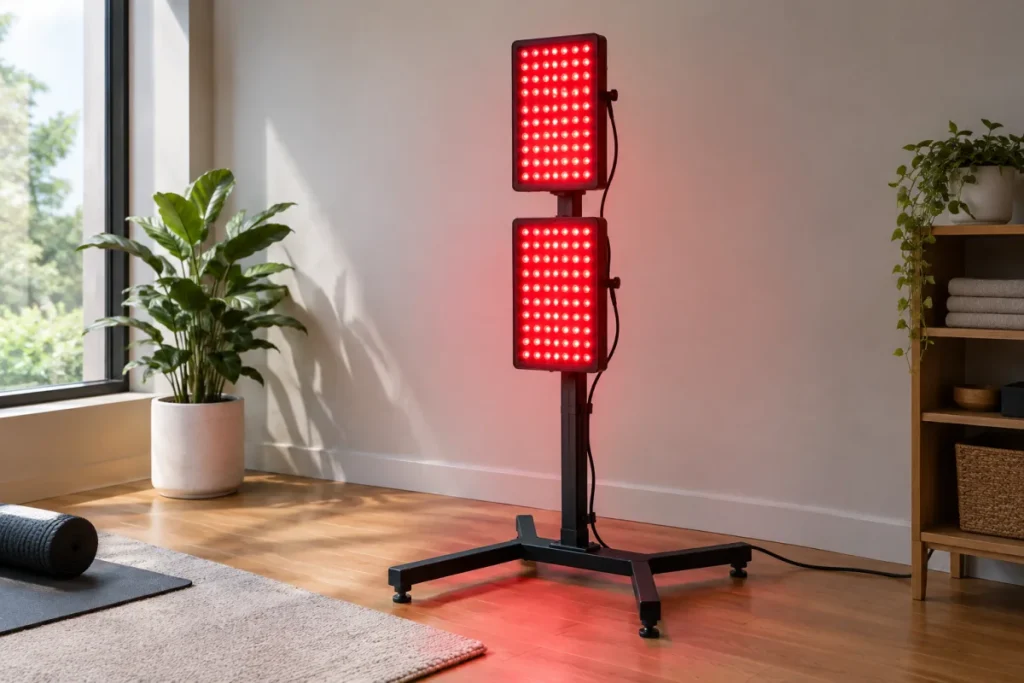
Two panels on one stand are not just “twice the panel.” A stacked or side-by-side setup changes leverage, balance, cable routing, and the force on the bracket. The combined weight must be within the stand’s rating, but that is only the first threshold.
Check whether the stand is designed for multiple mounted devices, whether the crossbar or adapter is rated for the combined load, and whether the base is wide enough to resist tipping. If the stand relies on a narrow base, lightweight wheels, or a single center column, a multi-panel configuration can become unstable even if the total pounds look acceptable on paper.
For multi-panel setups, first-party hardware often deserves more weight in the decision. Brand-specific stands are not automatically perfect, but they are more likely to account for panel spacing, vertical alignment, and the way users actually position lights during sessions.
Step 6: Think through warranty and support before modifying anything
Third-party mounting is not only a hardware decision. It can also affect support. Brands vary in how they treat unofficial stands, adapter plates, wall mounts, or altered hardware, and you should not assume that a panel warranty covers damage caused by a non-approved mount.
Before you drill, modify, or add aftermarket brackets, check the warranty language and installation instructions. If a setup requires permanent alteration to the panel casing, unusual fasteners, or unsupported load sharing between panels, pause. A stand that saves money upfront is not a win if it creates a support headache later.
A practical compatibility checklist
Use this sequence before committing to a stand:
- Measure the mounting holes: Confirm the VESA-style pattern center-to-center in millimeters.
- Find the panel weight: Use the panel’s published weight in pounds, not a guess.
- Check the stand rating: Make sure the rated load comfortably exceeds the panel weight, including any adapter plate.
- Inspect the back of the panel: Note switches, vents, handles, ports, fans, and cord exit points.
- Compare bracket dimensions: Make sure the plate will sit flat and not block functional parts.
- Verify bolt fit: Use the correct diameter, thread, and length; never force mismatched hardware.
- Test at session height: Stability should be checked at the height and angle you will actually use.
- Plan cable slack: The power cord should move naturally without pulling on the input or becoming a trip hazard.
- Review warranty terms: Confirm whether unofficial mounting affects coverage or support.
When first-party hardware is the better call
Use the brand’s own stand or mount when the panel is heavy, the back layout is unusual, the mounting information is vague, or you want a vertical multi-panel setup. First-party hardware is also the cleaner choice when the panel lives in a shared room and gets moved often; fewer improvised parts usually means fewer small failures over time.
A third-party stand makes the most sense for lighter single panels with standard VESA spacing, clear documentation, and a simple flat back. It can also be useful when you need a rolling base, a seated routine, or a specific height range that the brand’s own accessories do not provide. The key is to treat compatibility as a checklist, not a vibe.
After the stand fits, dial in the session area
Once the panel is secure, set up the space around it. Mark the usual standing or seated position, keep eyewear in the same place, and route the cord so you are not stepping over it every session. A stand that technically fits but makes the room awkward will quietly reduce consistency.
Distance also changes how a session feels and how the light spreads over the body. If you are refining your setup after changing mounts, use this guide to red light panel distance and dose to think through placement, coverage, and timing without chasing false precision.
Key mounting checks answered
Can any VESA stand hold a red light therapy panel?
No. A VESA match only confirms bolt spacing. The stand must also support the panel’s weight, keep the panel stable at the intended height, avoid blocking ports or vents, and use compatible bolts.
Is a TV stand okay for a red light panel?
Sometimes. A TV stand can work when the VESA pattern, weight rating, bracket depth, and height range fit the panel. It is less ideal when the bracket blocks controls, the panel becomes top-heavy, or the stand was not designed for frequent repositioning.
Should I use an adapter plate?
An adapter plate can solve a hole-pattern mismatch, but it also adds weight, depth, and leverage. Count the adapter in the total load and check that it does not move the panel so far forward that the stand becomes unstable.
What is the biggest sign a stand is not suitable?
Movement. If the panel sags, twists, rattles, or shifts when tilted or rolled, the setup is not secure enough for routine use. A good mount should feel boringly stable.
What to remember
A stand upgrade should make red light sessions easier, not turn them into a weekly hardware inspection. Confirm the mounting pattern, weight, bracket clearance, bolt fit, multi-panel load, and warranty implications before buying. When those checks are clear, a compatible third-party stand can be a smart accessory upgrade. When they are not, first-party hardware is usually the calmer choice.